Enable a platform payment option
Learn how to set up payment options for third-party platforms
This is a beta offering. You can request access to this beta feature through your JWP Account Manager.
By using this documentation, you are agreeing to abide by the terms of the JWP Beta Program Agreement.
By connecting a third-party platform payment option with the JW Platform, you can store app transaction data in the JWP system and grant viewers access to their purchased content.
Enabling a platform payment option offers several benefits:
- Streamlining app transaction management
- Enhancing content access control by linking purchases directly to viewer accounts
- Simplifying payment integration for a seamless user experience
Prerequisites
| Item | Description |
|---|---|
| Payments and Subscriptions entitlement | Entitlement to create payment models and subscriptions in the JW Platform For more information, contact your JWP representative. |
| Identity Management entitlement | Entitlement to use JWP identity management offerings For more information, please contact your JWP representative. |
Enable a platform payment option
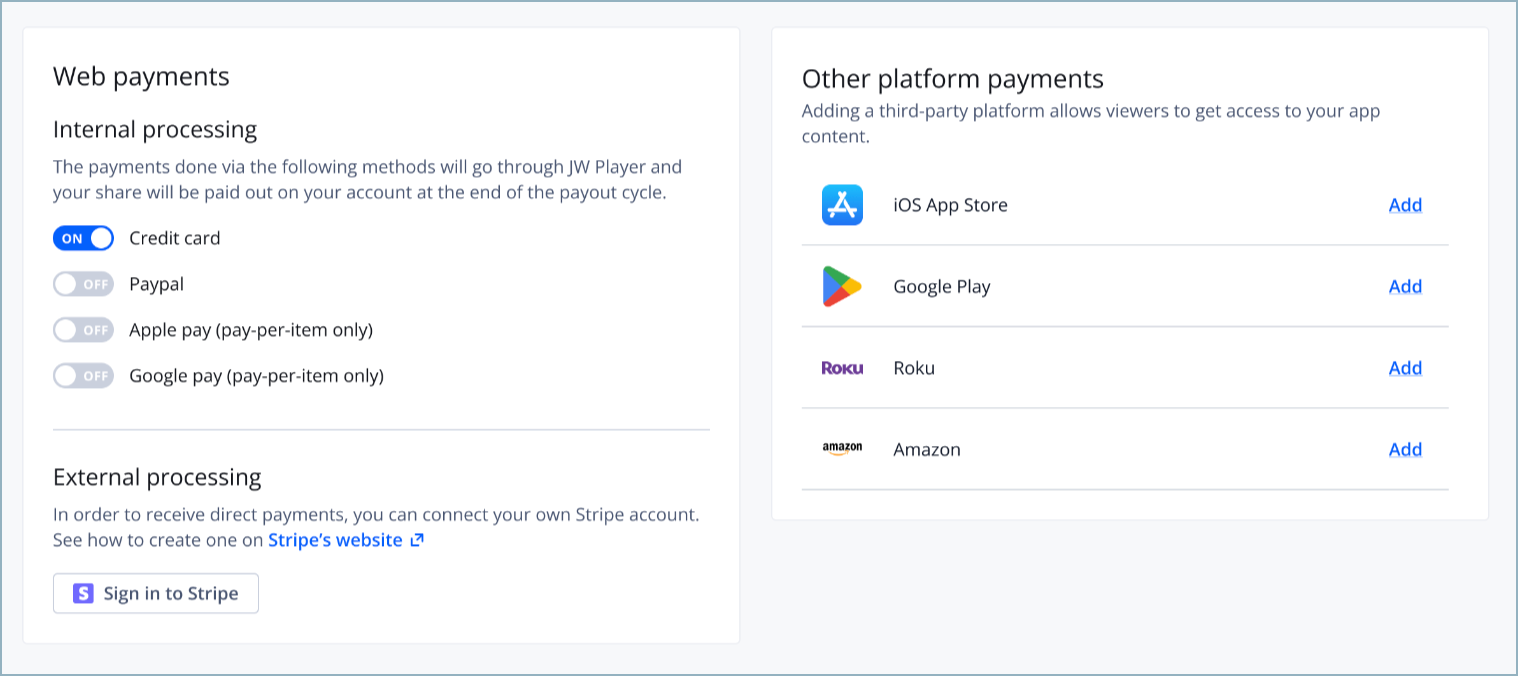
Payments and Subscriptions tab of the Properties page
Follow these steps to integrate the platform of your in-app product:
- From the Properties page, select a property. The property settings appear.
- On the Payments and Subscriptions tab, click Enable payments. The payment settings appear.
- Under Other platform payments, connect one or more platforms.
iOS App Store
To connect to the iOS App Store, follow these steps:- In the iOS App Store row, click Add. The Connect your App Store account panel appears.
- Under STEP 1, copy the Production Server URL. The production server URL is associated with your JWP property.
- Under STEP 2, enter the App-Specific Shared Secret. You can find the secret in your App Store Connect account.
- Click Save.
- In your app, under URL for App Store Server Notifications, paste the production server URL.
Google Play
To connect to Google Play, follow these steps:- In the Google Play row, click Add. The Connect your Google Play account panel appears.
- Under STEP 1, copy the Property URL. This URL is associated with your JWP property.
- Under STEP 2, enter the site verification token. You can find your token in your HTML verification file.
- Under STEP 3, enter the Android service key. To obtain your Android service key, you must create a new project and topic.
- Click Save.
- In Google Webmaster Center, under Add Property, paste the property URL.
Roku
To connect to Roku, follow these steps:- In the Roku row, click Add. The Connect your Roku account panel appears.
- Under STEP 1, copy the Push Notification URL. This URL enables app notifications.
- Under STEP 2, enter your Roku API key. In your Roku developer account, you can find your Roku API key under Monetization > Roku Pay web services.
- Click Save.
- In your Roku developer account, paste the push notification URL.
Amazon
To connect to Amazon, follow these steps:- In the Amazon row, click Add. The Connect your Amazon account panel appears.
- Under STEP 1, copy the Push Notification URL. This URL enables Appstore notification.
- Under STEP 2, enter your Amazon shared key.
- Click Save.
- In your Amazon account, paste the push notification URL.
- Click Save.
Now that you have connected a platform payment option, you can store app transaction data in the JWP system and grant viewers access to their purchased content.
Updated 27 days ago